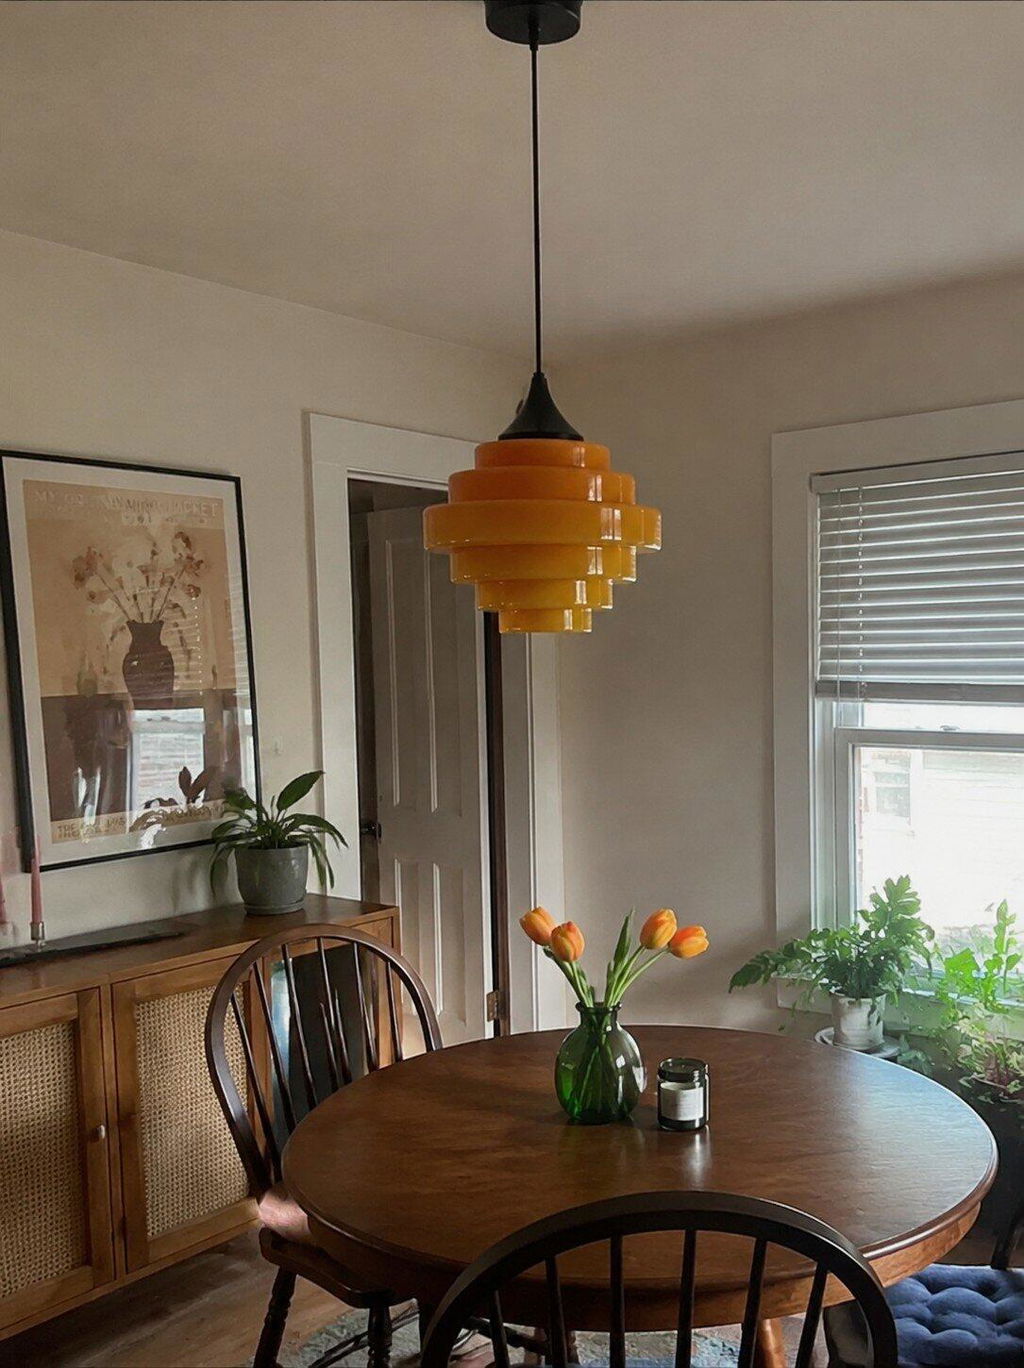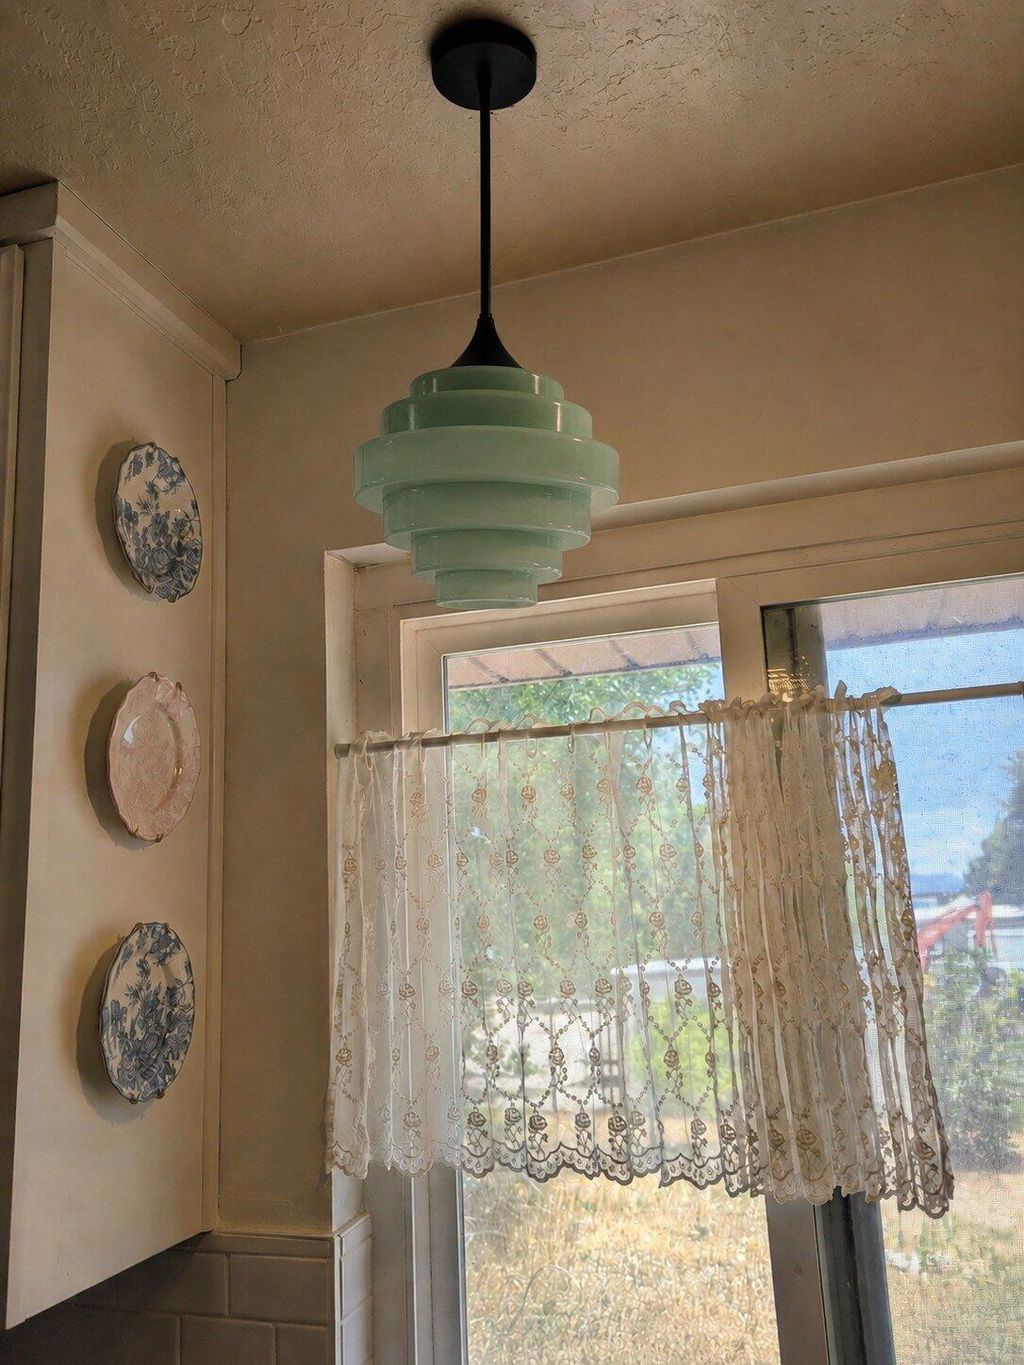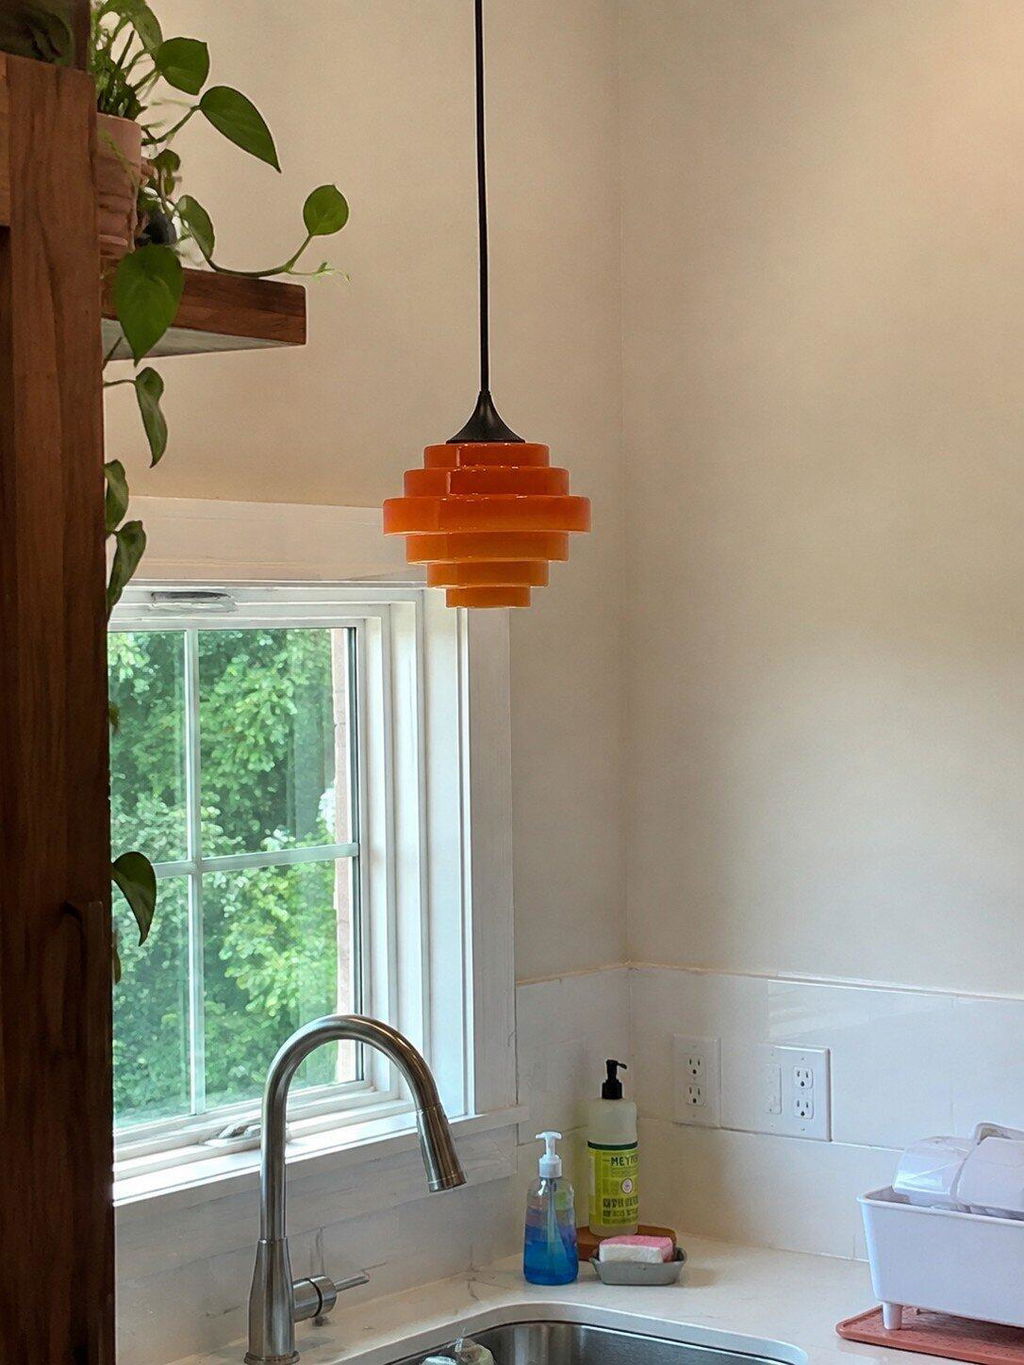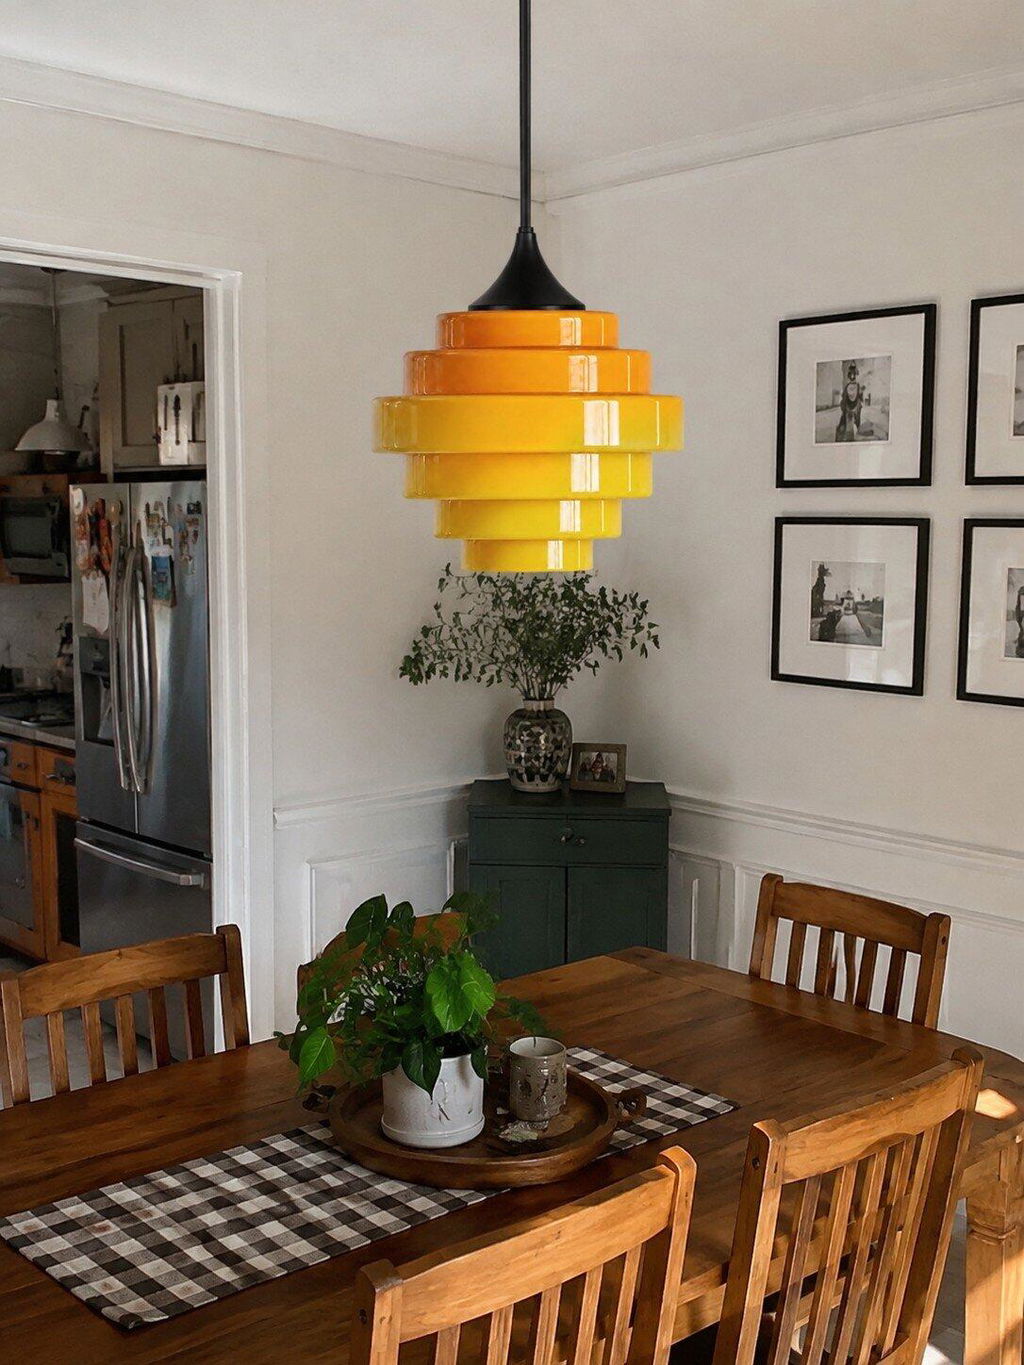

Layered Gradient Glass
Overlapping tiers deepen the color and create a strong sculptural rhythm.


Buy 1
Buy 2
Buy 3+
Orders over $330
Orders over $500
Return Policy: You have 14 days after receiving your order to request a return.
Availability: We ship to the United States.
Processing Time: Order handling time is 1 – 2 business days (Monday to Friday).
 Free Shipping
 14-Day Returns
 Secure Payment
 Customer Service
More than a pendant: shorten the sectional downrod for a close-to-ceiling look, or extend it to create a lower hanging focal point. The pinecone-inspired gradient glass adapts to both the room and its ceiling height.


Build the sectional downrod to suit the room: extend it for a pendant profile or shorten it for a close-to-ceiling installation.
Use additional 30 cm / 11.8" rod sections to lower the shades over an island or dining table.
Use fewer rod sections for a compact profile that works well in hallways, bedrooms, entryways, and rooms with lower ceilings.

Use additional 30 cm / 11.8" rod sections to lower the shades over an island or dining table.

Use fewer rod sections for a compact profile that works well in hallways, bedrooms, entryways, and rooms with lower ceilings.
This video presents the three available glass finishes side by side. The light does not change color after installation: choose Yellow, Green, or Orange to set the tone you want from the start.

Overlapping glass tiers build a compact, sculptural form inspired by the natural rhythm of a pinecone. From every angle, the silhouette reveals a different balance of color, transparency, and depth.
Glossy glass, softened edges, and crisp black hardware give the pendant a clean finish without losing its playful character.
Overlapping tiers deepen the color and create a strong sculptural rhythm.

The matte black fitting gives the colorful glass a crisp visual anchor.

The centered opening directs useful light downward while keeping the form balanced.

The pivoting connector lets the fixture adjust its angle for sloped ceilings and different hanging directions.

Bright and warm, with golden tones that sit naturally beside oak, walnut, cream, and other relaxed neutrals.

A softer botanical note for light woods, calm bedrooms, breakfast corners, and nature-led interiors.

Bold and distinctly retro, adding warmth and visual energy above dining tables and kitchen islands.
See how each finish changes the mood of dining rooms, breakfast corners, bedrooms, and open kitchens.


Use the smaller profile for compact corners, the medium size for everyday dining, or the large shade where the room can carry a stronger focal point.


Complete dimensions and installation details for all three sizes.
| Small | Dia 25 × H 19 cm / Dia 9.8" × H 7.5" |
|---|---|
| Medium | Dia 33 × H 27 cm / Dia 13" × H 10.6" |
| Large | Dia 43 × H 33 cm / Dia 17" × H 13" |
| Installation | Pendant or close-to-ceiling configuration |
| Colors | Yellow, Green, Orange |
| Material | Gradient glass + metal |
| Finish | Black hardware |
| Socket / Voltage | E26 · 110–240V Bulb not included |
| Adjustable Downrod | Up to 120 cm / 47" 30 cm / 11.8" removable sections |
The layered glass does more than hold a single color. As daylight, room light, and viewing angle change, each tier moves from clearer edges to richer color at the center.
Honestly, this was better looking that I anticipated it to be. very sturdy. and super easy to assemble. I used this as a bar lamp/ aesthetic lighting and it turned out great.
I bought this to hang above our kitchen sink, and it’s perfect for that. Nice light at night especially.
I’ve gotten a lot of compliments on these lights. They are super cute and unique.
Absolutely gorgeous light covers! Pretty! very whimsical.
This pendant light is absolutely stunning in person. It feels both modern and timeless — a statement piece without being overwhelming.
Monulo · The practical guide
Find a starting size, see where to place it, and know what to check before installation.
Find your starting size01 · Get the scale right
For a central ceiling light, enter your room dimensions. For lights above furniture, use the table or island guide below instead.
Measure first, then mock up the actual shape. Suggested dimensions are design starting points; product instructions and applicable local requirements take priority.
02 · Look up
The available drop matters as much as the fixture diameter.
Around 8 ft / 2.44 m
Start with a flush or compact semi-flush design in walking areas. Check the complete installed height.
Around 9–10 ft / 2.74–3.05 m
Pendants become easier to accommodate. Reserve enough clearance below the lowest part of the fitting.
Above 10 ft / 3.05 m
Test larger forms or longer suspension. Confirm cable length, access for maintenance and ceiling support.
Sloped ceiling? Compatibility is model-specific. Confirm the canopy, suspension angle and required drop before ordering.
Room study 01
Let the furniture define the focal point.
Room study 02
Plan the whole row before choosing the quantity.
Room study 03
Use the room formula as a visual starting point.
Room study 04
A consistent rhythm works better than a crowded ceiling.
Room study 05
Put comfortable facial lighting first.
Room study 06
Choose the height from where you actually sit.
Room study 07
Light the page without exposing the source.
03 · Before the tools come out
Bring the product instructions, room measurements and fixture weight to your installer.
01 / Fit
Check door swings, seated views, shade gaps and the lowest point. Include the canopy and suspension in every drop measurement.
02 / Support
Have a qualified installer confirm the box, fixing points and structural support for the complete fixture weight.
03 / Compatibility
Confirm supply voltage, lamp or LED driver, dimmer compatibility, ceiling type and location rating for the exact model.
Hardwired fixtures should be installed by a qualified electrician following the supplied instructions and local requirements. This page explains planning and placement; it does not provide wiring instructions.
04 · The last few details
Measure vertically from the finished ceiling to the lowest point of the assembled fitting. Over a table or counter, measure the remaining gap from that point to the surface.
No. Diameter describes the physical size. Compare lumen output, shade opacity, beam direction and the room’s other light sources separately.
Start with the shade diameter, then draw the complete row to scale. Two larger shades and three small shades can both work; use actual edge gaps and counter-end clearances to decide.
Compare a shorter suspension or a flush alternative that the manufacturer supports. Never shorten a rigid stem or modify wiring without the appropriate product guidance.
No. Check the exact product specification and installation position. Ask a qualified installer to confirm the required damp or wet rating and canopy compatibility.
Include a room photo, ceiling height, room or furniture dimensions, the fixture link and your proposed installation location. For heavier fittings, include any available mounting information.